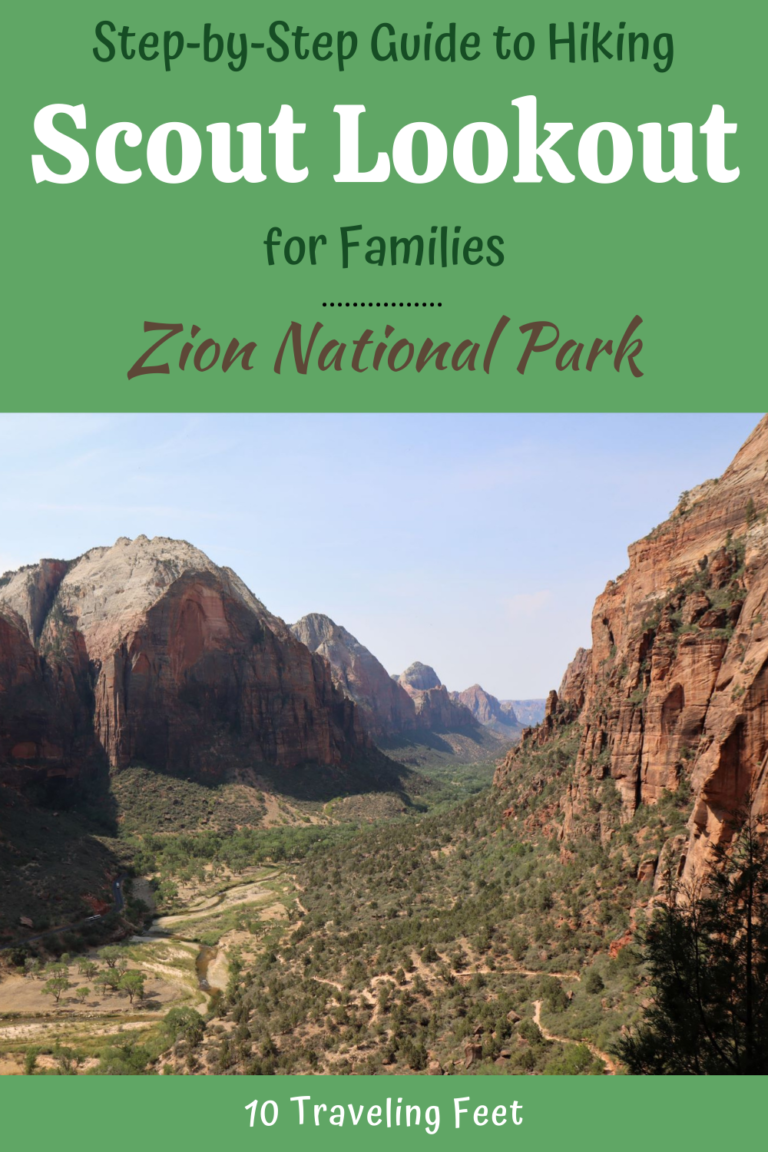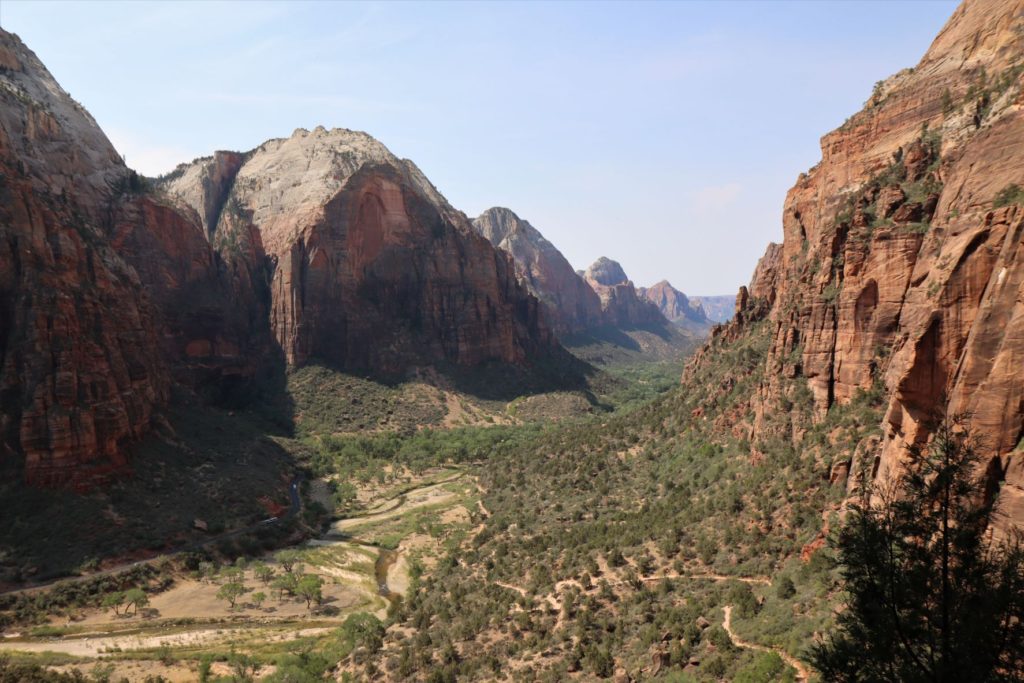
Scout Lookout Trail is the perfect challenging family hike in Utah’s insanely popular Zion National Park. Here you will hike up the side of a gorgeous pink sandstone monolith, walk through a cool, narrow canyon where hidden gems await and find numerous absolutely breath-taking vistas of the valley below. The hike to Scout Lookout is steep (but safe), the terrain constantly changes (which keeps kids interested) and the spectacular views here are simply out of this world. All of this and more, makes the hike to Scout Lookout our family’s favorite hike in Zion National Park and here I would love to show you why!
Where is the Hike to Scout Lookout?
Strangely, specific information on the hike to Scout Lookout is not listed on Zion’s hiking information sheets and so many people don’t even know it exists. Why not, you ask. This is because the hike to Scout Lookout lies within the famous (& extremely difficult) hike to Angels Landing. (The last part of the Angels Landing hike requires holding onto chains to walk along a crest and this is not child-friendly. Quite frankly, this section is too scary for me as well!) And this is why, for people not interested in going all the way to Angels Landing, the hike to Scout Lookout often gets overlooked.
Important for 2022: As of April 1, 2022 you will need a permit to hike to Angels Landing, but you can still hike to Scout Lookout without a permit. The Angels Landing Hiking Permit is only for 0.5 mile chained section of Angels Landing.
A Fantastic, Challenging Family Hike
When researching hikes in Zion I knew that there was no way I could take my kids up to Angels Landing to hike only holding onto a chain, and so I immediately crossed that hike off my list, not knowing, at first, about Scout Lookout. It was only later when I began searching for popular hikes on AllTrails.com that I found people talking about this hike to Scout Lookout. I was instantly hooked. This was the hike I had been searching for, the perfect hike for our family.
Now granted, hiking to Scout Lookout is still a challenging hike, but all 3 of our kids, including our youngest being 10 years old, was able to hike this trail all the way to the top. And they absolutely loved it!
This is why I wanted to write about the hike to Scout Lookout here. I want to help everyone know about this spectacular & challenging family-friendly hike in Zion National Park so that your family can have the chance to enjoy it as well!
In This Post
In this post, I will take you step-by-step through how to hike to Scout Lookout so you’ll know more of what you can expect. I will show you where we struggled & provide helpful tips that will make your hike easier. And I will also reveal to you several hidden highlights along the trail that you won’t want to miss. This way, you can better decide for yourself if this would be the perfect hike for your family too!
Where is Zion National Park?
Zion National Park is located in Southwest Utah by the town of Springdale, just off of UT-9.
- The nearest airport is in St. George, UT which is 41 miles (~55 minutes away).
- Zion is 2 hours 40 minutes (160 miles) northeast from Las Vegas.
- Zion is 2 hours 20 minutes (119 miles) from Page, AZ.
Nearby Attractions
- Sand Hollow State Park – 50 minutes (32 miles)
- Bryce Canyon, UT – 1 hour 50 minutes (85 miles)
- Valley of Fire State Park, NV – 2 hours 15 minutes (120 miles)
- North Rim Grand Canyon, AZ – 2 hours 40 minutes (122 miles)
- Capitol Reef National Park, UT – 3 hours and 45 minutes (192 miles)
- Arches National Park – 5 hours (341 miles)
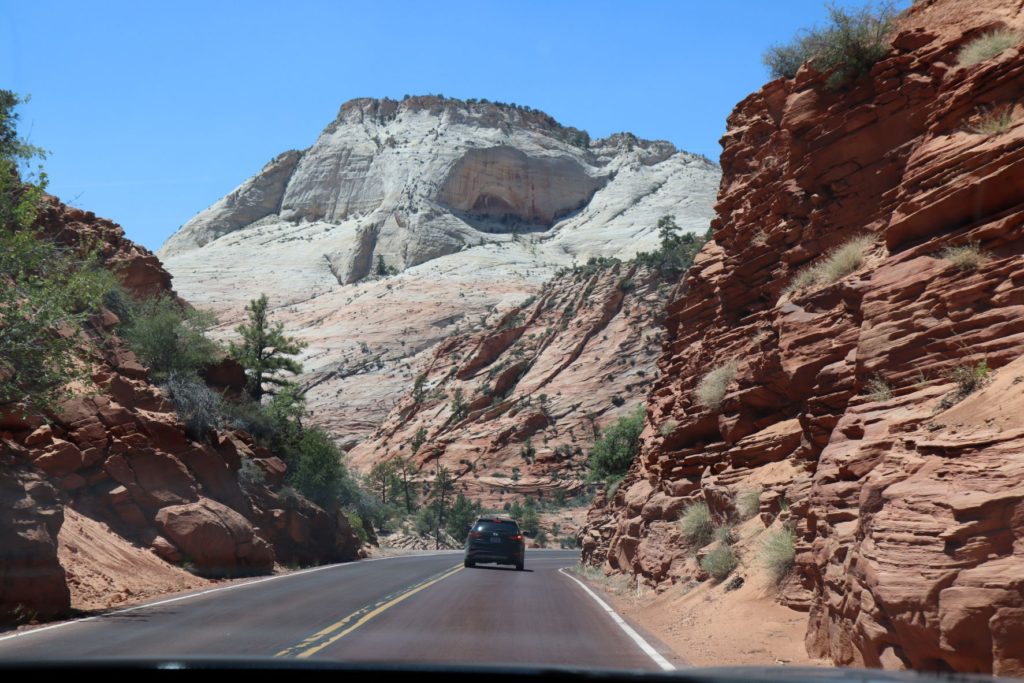
Traveler Tip: Don’t miss driving the section of UT-9 in Zion between the East Entrance and the 1 mile Zion-Mount Carmel Tunnel. This is one of the most scenic drives I’ve ever been on! (See pictures above and below.) It’s absolutely gorgeous!
Driving UT-9 on the Zion-Mount Carmel Highway
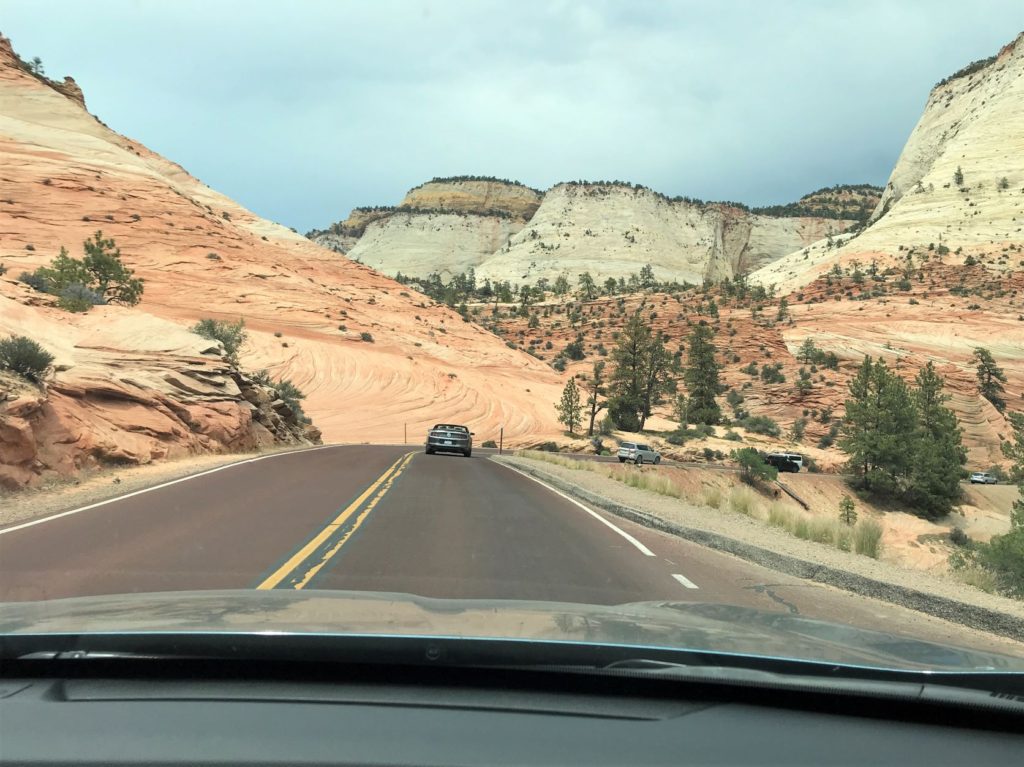
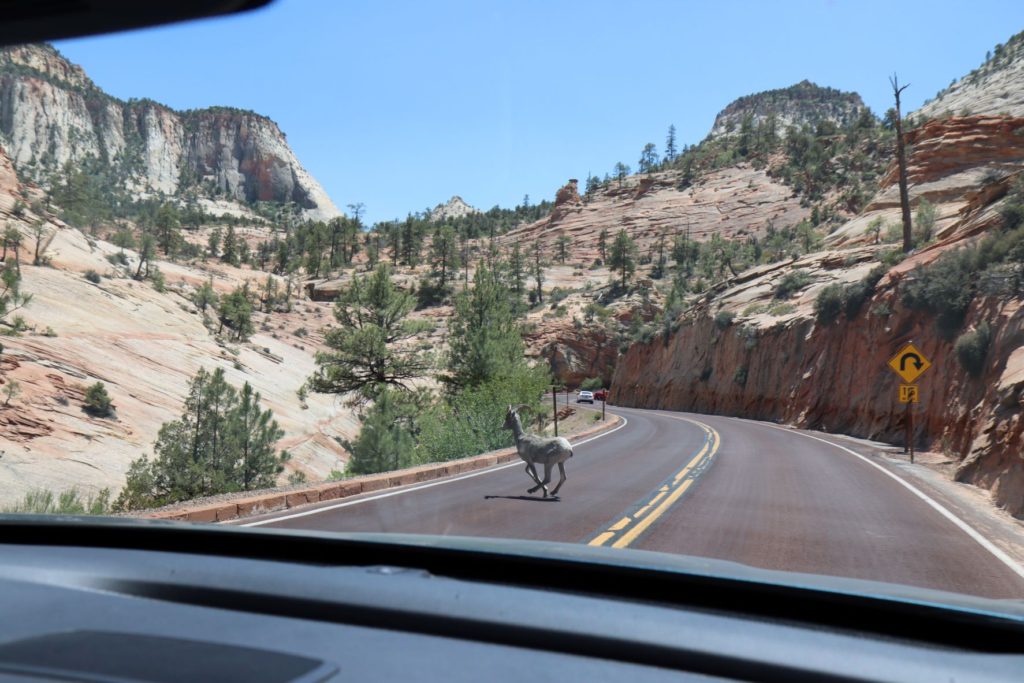
The scenery on Ut-9’s Zion-Mount Carmel Highway is beyond gorgeous so make sure you have your camera out and windshield clean. These are pictures you won’t want to miss! Yet, while you are driving don’t forget to also be on the lookout for animals too. For our family a mountain goat (see picture below) jumped down off the cliff right onto the road in front of our car!
Funny Story
I actually saw this goat getting ready to jump in front of us before the rest of my family did, but unfortunately I forgot to pronounce the “T” when saying Goat several times in a row. So all my family heard was “Go, Go, Go” instead of “Goat, Goat, Goat.” I don’t think they are going to let me live that one down for a while.
Zion National Park Shuttle Tips – To Get to Your Hike
To get to most of the main hikes within Zion National Park you will need to go up Zion Canyon Scenic drive. Yet this road is closed to private vehicles for most of the year and can only be accessed with the free shuttle. For reference, this scenic drive, on a map, is the road that heads north (off of Ut-9) into the park.
To ride the Zion Canyon Shuttle, park at the Visitor Center which is located in Springdale on its north side.
Traveler Tip for the Zion Shuttles: Zion National Park is extremely busy and the shuttle lines can get really long so plan accordingly. For our family, we arrived at the Visitor Center around 6:20am (in mid-June on a Tuesday) and by 6:30 the parking lot was completely full. I’m not sure if this is usually the case, but when the parking lot gets full you’ll have to find somewhere to park in town and then either walk to the Visitor Center or take the Springdale Shuttle to the Visitor Center to pick up the Zion Canyon Shuttle to get into the park.
Zion National Park Visiting Cost
Zion National Park costs $35 per vehicle to enter. This is a 7 day pass. This fee will be paid the first time you enter through one of the park’s entrance gates. The entrance, near Springdale, is just north of the town, on UT-9, but before you get to the Visitor Center to catch the shuttle.
You can also get into Zion National Park with the America the Beautiful Pass, which grants access to over 2,000 parks for a year. Or you can enter completely FREE if you have a 4th Grader! This is what we did and our 4th Grader was ecstatic that he got us into Zion National Park for free.
Grotto Stop # 6
Once you have boarded the Zion Canyon Shuttle from the Visitor Center in Springdale, you will then ride it into the heart of Zion National Park and get off at the Grotto Stop (#6). This stop lets you off near the Trailhead for Scout Lookout. At this stop there are restrooms for your convenience for anyone that needs to use them before you set out on your hike.
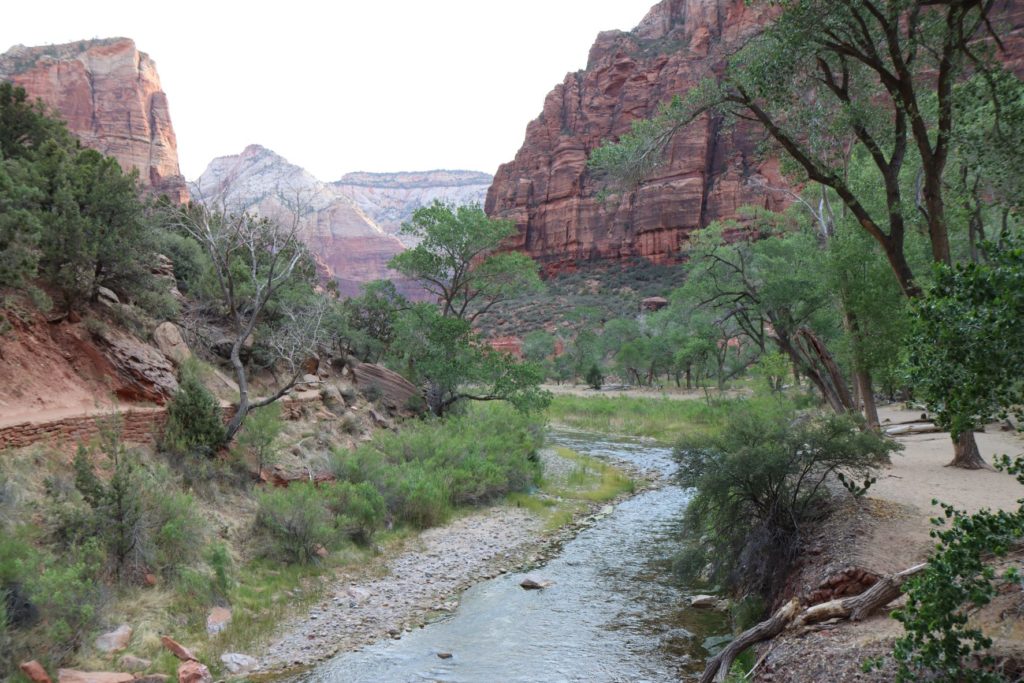
Once everyone in your hiking party is good to go, head across the street from where you were dropped off. Follow the path that takes you over a small bridge. While you are on the bridge, make sure you check out how beautiful this valley is from here. (See picture above.)
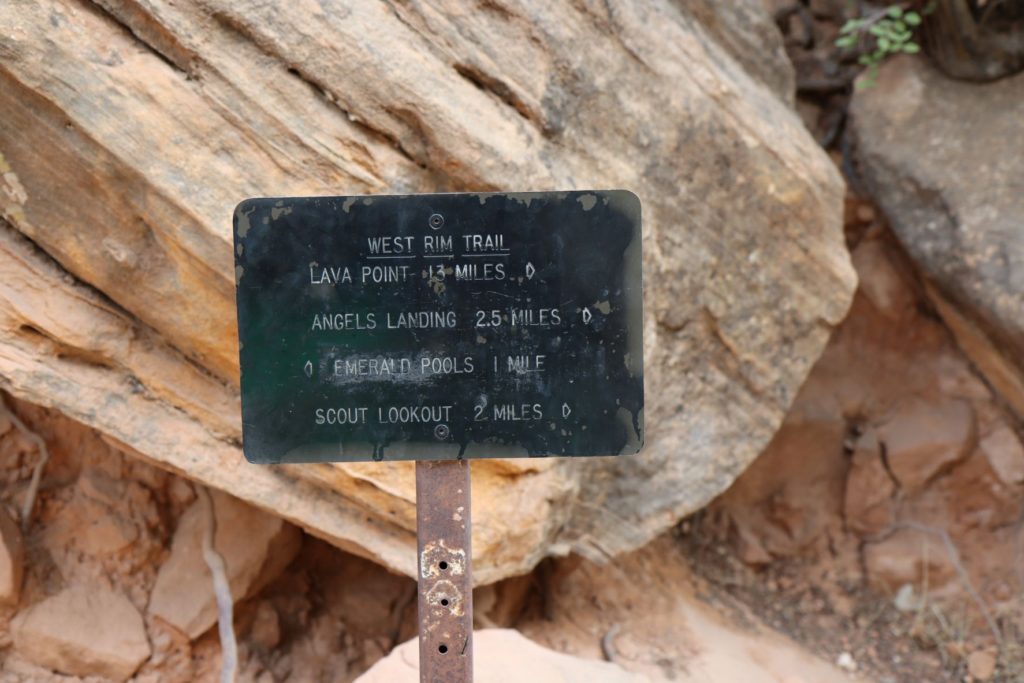
Next, cross the bridge and you will come to a sign, (shown in the picture below.) Here you will turn right to begin your adventure along the West Rim Trail up to Scout Lookout.
Scout Lookout Trail Details:
Trail Length: ~4.5 miles Out-and-Back
(Alltrails says 3.6 miles but this is not correct. Zion NP information shows Angels Landing at 5.4 miles and this is just a little past Scout Lookout. Our recorded hike distance was 5.1 miles but we walked around on the top for a little.)
Trail Difficulty: Strenuous (due to the steep climb, but the trail itself has no obstacles. Just go slow and take as many breaks as you need.)
Hiking Time: 2-3 hours
(This trail took us 2 hours 15 minutes of moving time but it took us 2 hours and 52 minutes total including our rest breaks and time at the top.)
Elevation Change: Approximately 1,200 foot gain.
Toilets at Trailhead: Yes, there are modern toilets at the Grotto Stop #6 and there is also a toilet up at Scout Lookout itself!
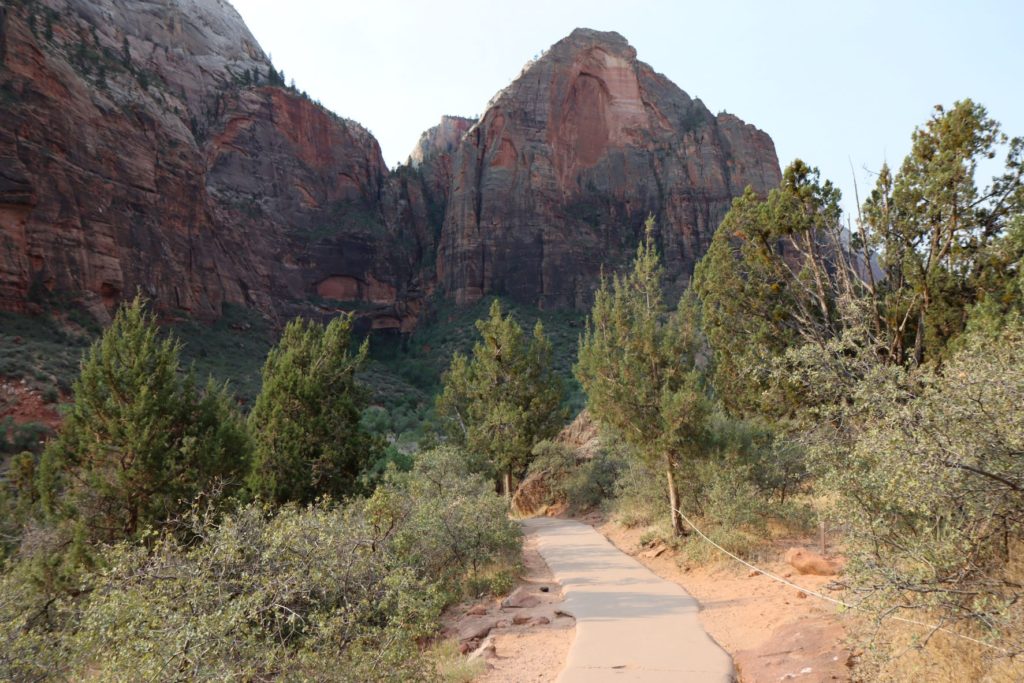
Now let’s start hiking! The first part of the trail to Scout Lookout, as you can see, is pretty flat.
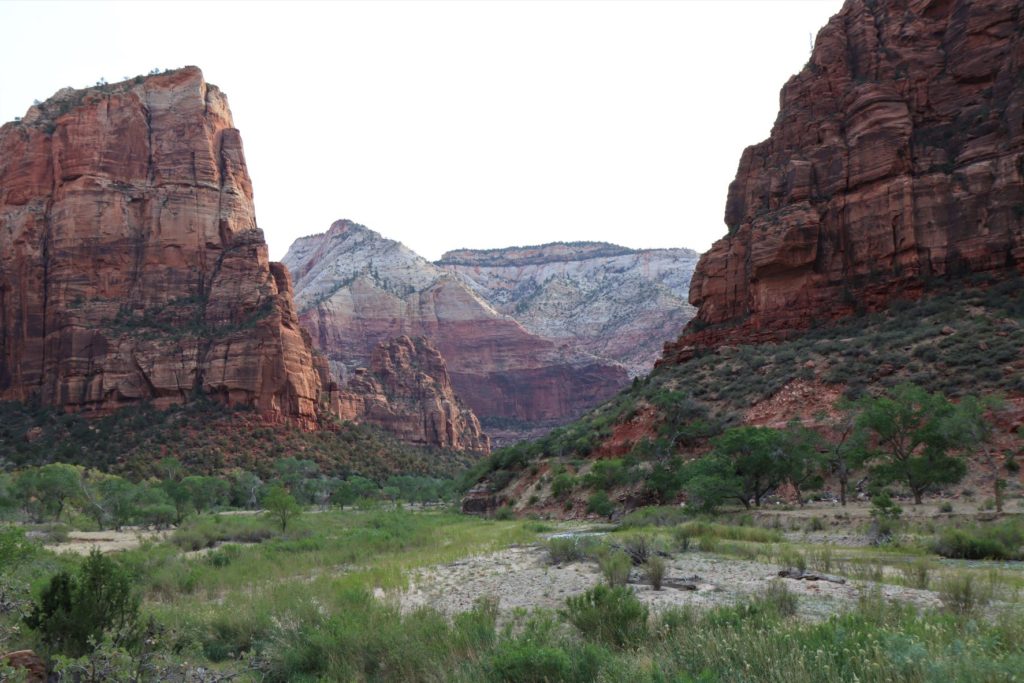
This is looking off to the right while walking this first, flat section of the trail. And it’s completely gorgeous!
Hiking Tip:
Start your hike as early as you can. In the morning the temperatures are cooler and the canyon is mostly in shade. This hike would be brutal in the mid-day sun.
For our family, we began our hike at 8:15am in June and the temperature was quite comfortable. But at the end of our hike the hot sun was definitely beating down upon us and we were extremely happy that we were heading down and not heading up this trail near mid-day.
Timing Tip:
Please account for the time it takes the shuttle to drive to your shuttle stop. From the Visitor Center to the Grotto stop it takes about 25-30 minutes. If you are going all the way to the last stop, it takes about 45 minutes one way. And since the shuttles don’t start until 7am most of the year, it can make hiking early more difficult. This is one place where I would seriously consider staying at one of the in-park lodges so that you can more easily get an early start.
(Remember that we got to the Visitor Center were standing in line to take the shuttle at 6:30am in the morning and we didn’t start hiking until after 8am. Again, I’m not sure if this is normal, but this was our experience.)
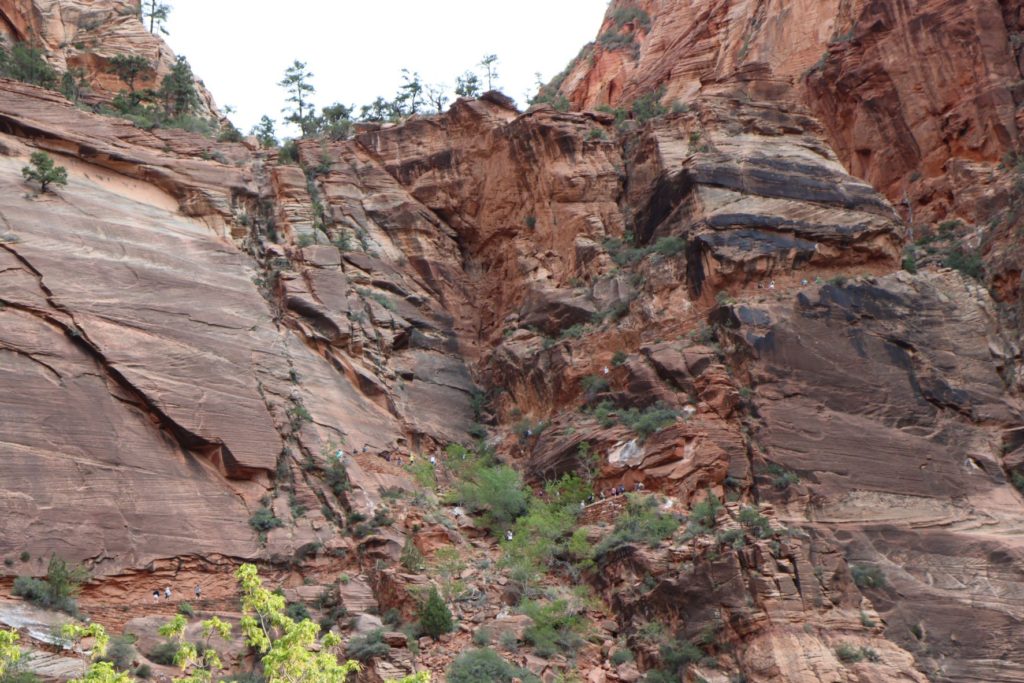
When walking this first flat section, if you look left you will see this view. See the little dots of people along the cliffside. This is your trail.
Again I want to emphasize the importance of hiking this trail in the morning. In the morning this entire steep climb is in the shade. This is not in the shade later in the day. Hopefully this can be a little incentive to get out of bed a little earlier in the morning so that your hike here can be a more pleasant one.
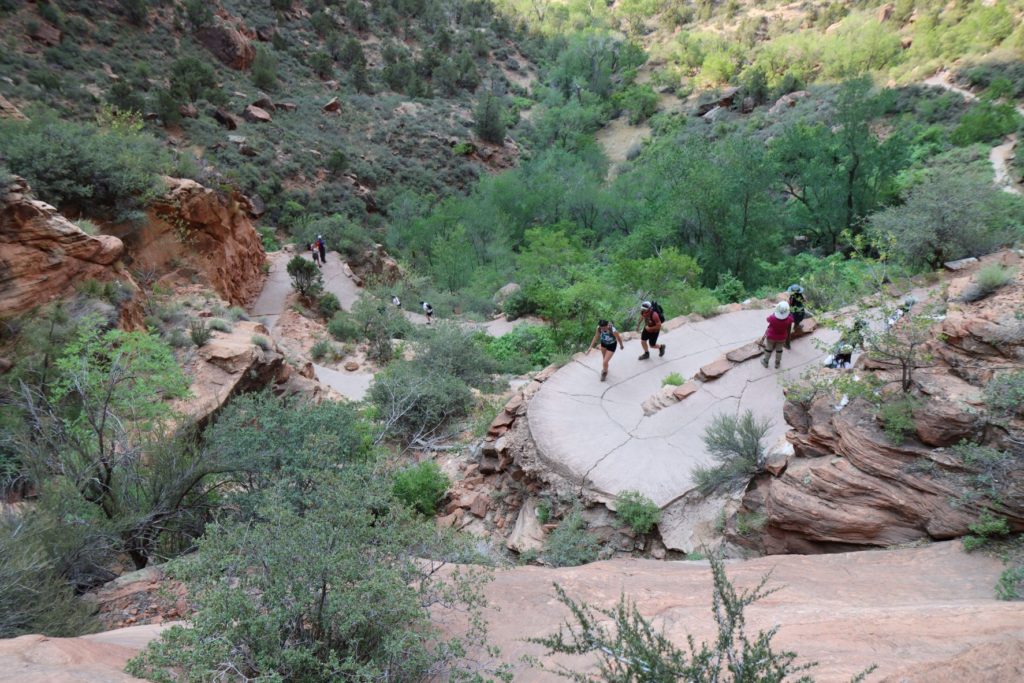
This is what the trail looks like, looking down, as we were climbing up. As you can see, the trail is nicely maintained and there are plenty of places where you can stop and rest, but it is steep and definitely a good leg workout!

During this steep climb, make sure you stop for a moment or two to admire the incredible view of the valley from this new elevated viewpoint. It’s fantastic!
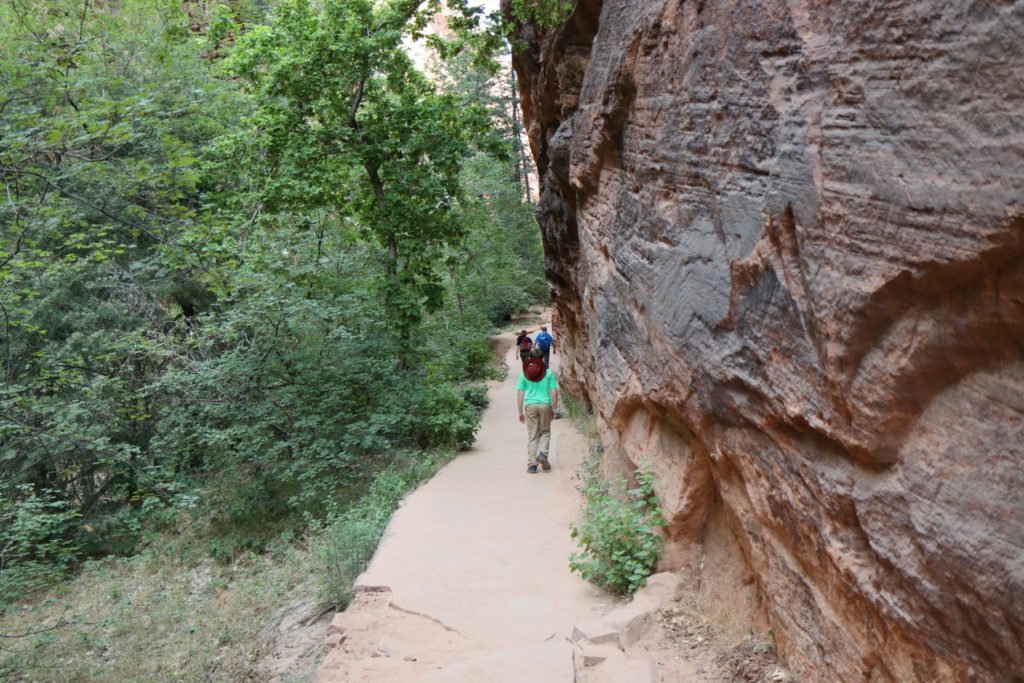
Once you have finished this first steep climb, the trail then levels out and continues through a narrow canyon-like area. This is not only a welcomed break for your legs, but it also has a fantastic hidden gem. This is the home of Mexican Spotted Owls. Now this may not sound too thrilling at first, because it’s an owl and who sees an owl during the day. But we did! And we saw four of them wide awake and hunting for their breakfast!
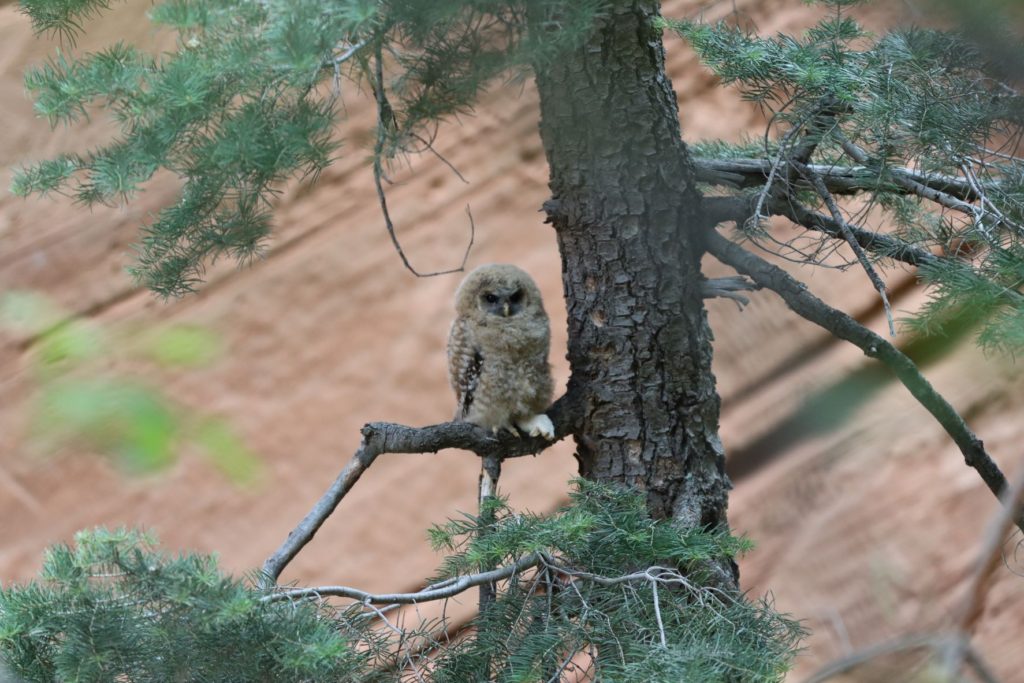
Check out the picture above. Do you see the mouse at the owl’s feet? This owl just caught his breakfast? I thought this was insanely cool to see. I had never seen a wild owl this close before and I had definitely never seen one awake and hunting. This was such an incredible experience!
If you too are wanting to try and see one of these owls, know that before entering this section of the canyon, for us, there was a sign out warning hikers to be quiet as to not to disturb these owls. So when you see this sign, start looking and hopefully you’ll get to see some owls too!
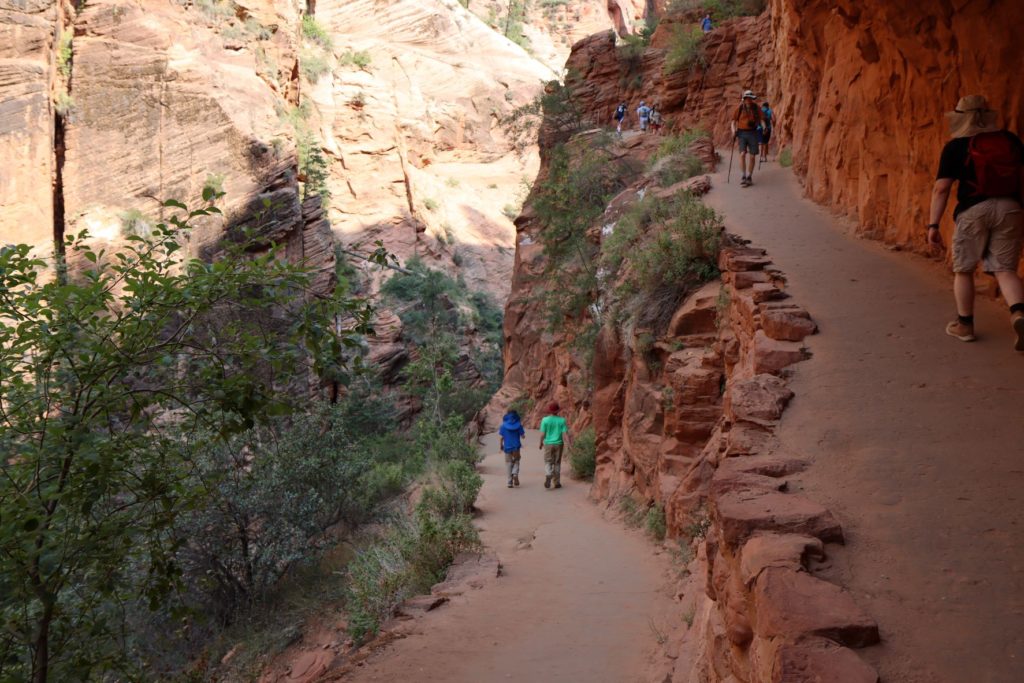
After excitedly watching the owls for a period of time, we began our hike again. And here, the trail started to climb yet again. At this point our legs were pretty tired, but watching the owls for a little did give us a good rest break.
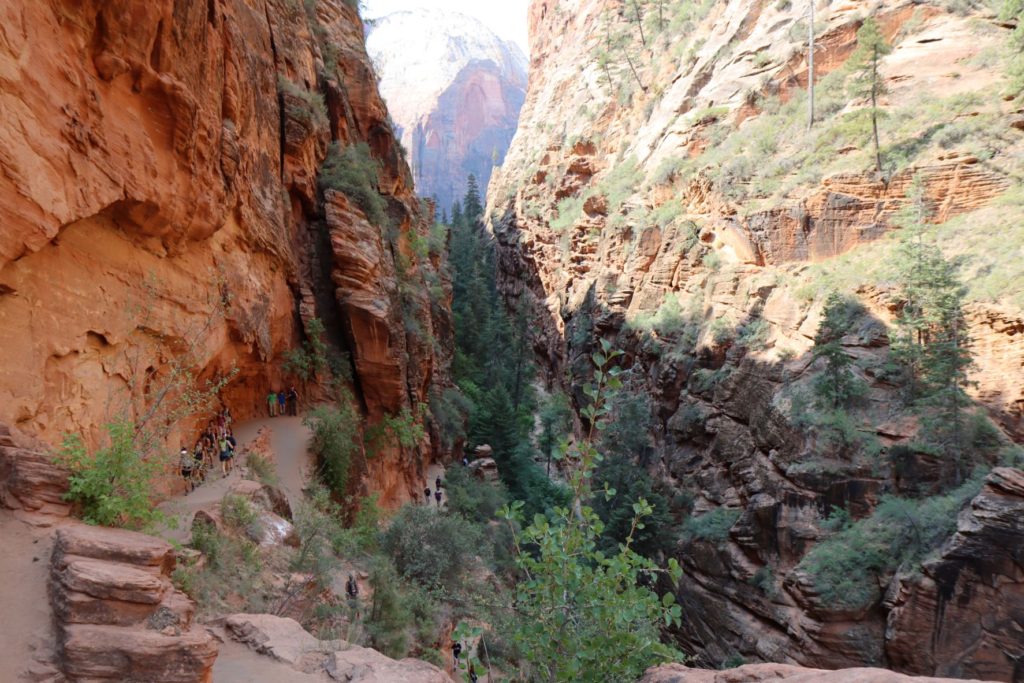
This is looking back down the canyon after making the second steep climb. Again, the trail was in shade and the temperatures were comfortable for our morning hike.
After this second steep climb our legs were extremely tired, but do know that there was never a question as to whether or not we could make it to the top, even from our 10 year old. Again, lots of rests and water breaks are so important.
Water Tip:
Our family went through about 1.5 liters per person on this 2-3 hour shaded hike. Then when we got back to the Visitor Center later that day, we refilled all of our water bottles and immediately drank another 1/2 liter each. Please make sure you bring plenty of water when hiking.
Our Favorite Water Bottles – I love that these water bottles are easy to clean and that they are clear so we can easily see how much our children are drinking. And my kids love that they come in 22 different styles/colors!
Our Favorite Way to Carry Extra Water for Our Family – Long hikes require more water than just a standard water bottle. Therefore on these harder hikes, like Scout Lookout, we also fill up two collapsible water bottles (these are my new favorite items). My husband carries these bottles in his hiking bag so the rest of us don’t have to deal with the extra weight of the water. Then we are able to easily refill all of our regular water bottles while out on the trail. And I love that they pack up easily in our suitcase when they are not in use. Now I don’t know how we ever hiked without them!
Just When We Thought the Steep Sections Were Over
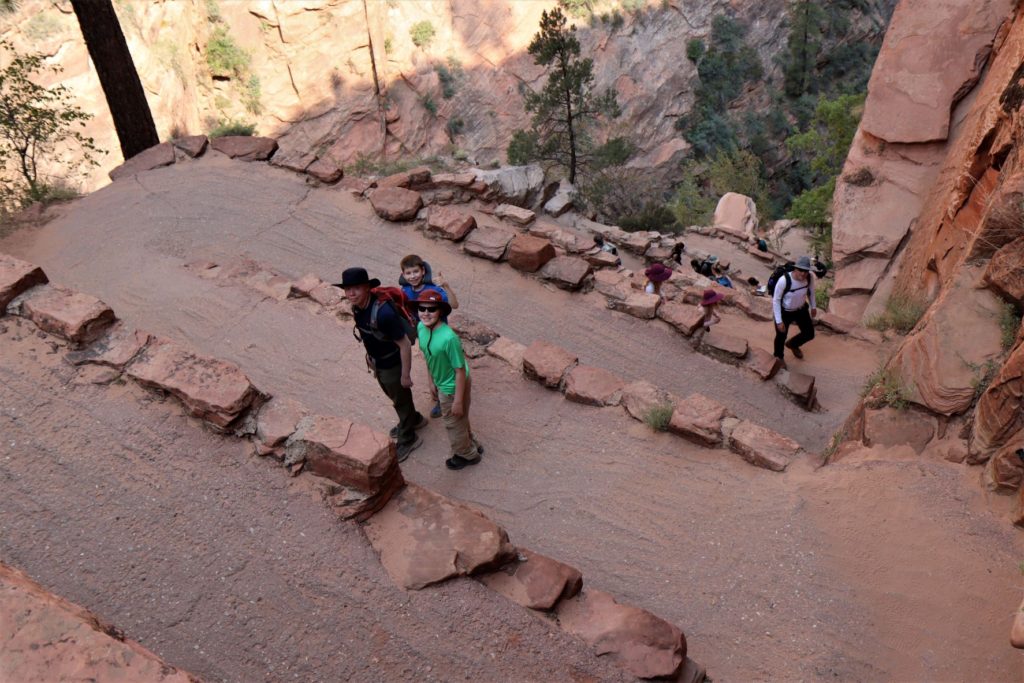
Just when we thought the steep sections were over, we came to this crazy steep set of switchbacks. They were insane! But the good news is, is that this is it! This is the last part of the hike. And at the top of these steep switchbacks was our reward – Scout Lookout.
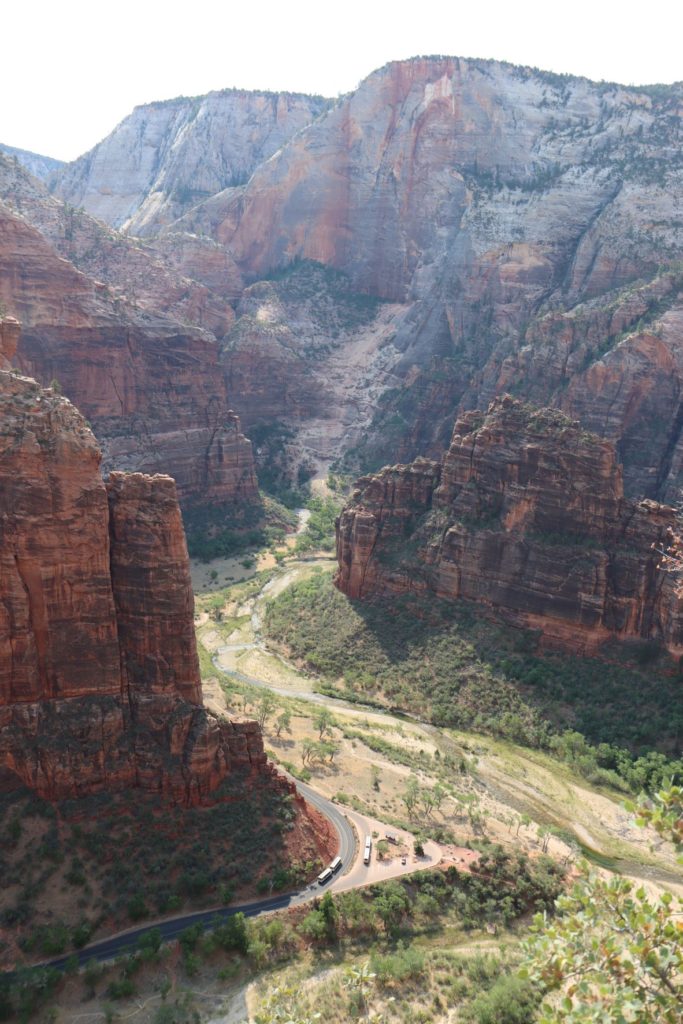
And what a gorgeous view it was! It was so rewarding to reach this destination of Scout Lookout. We had made it! And now we could sit and simply enjoy this spectacular view.
This is also a great time to pullout a snack to enjoy while gazing upon this incredible scenery. But if you decide to grab a bite to eat up here like we did, just know, that there are some extremely friendly chipmunks that might want to share in your snack. So make sure you keep all of your crumbs off the ground and throw away your trash so their begging behavior is not encouraged.
Are you looking for hiking snack ideas?
Read More: 15 Great Hiking Snacks (That Kids Love!)
The Bathroom at Scout Lookout
Fortunately there is also a bathroom up at Scout Lookout. It is located on your left when you first get up here from the trail. This bathroom is really unique too. It has a foot pedal that you have to pump after you go to move a conveyor belt. This will move anything that happens to be there out of the way. As funny as this sounds, our family was completely fascinated by how this toilet worked.
Scout Lookout Tip
When you first get to the top, you might not immediately see the amazing views that I’m referring to. This is because, to see the best views, you’ll need to head to the right once you reach the top, along the path around the big rock (where most people are resting/picnicking). Then look on the other side of this rock. This is where we found the best views of the valley below.
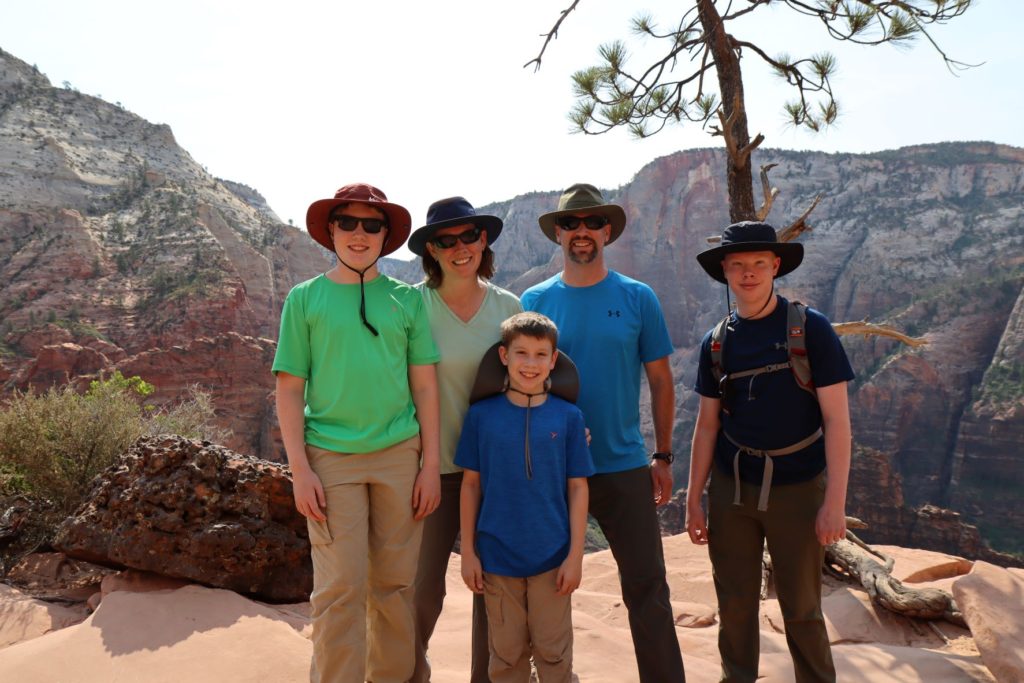
This is also a perfect spot for family photos!
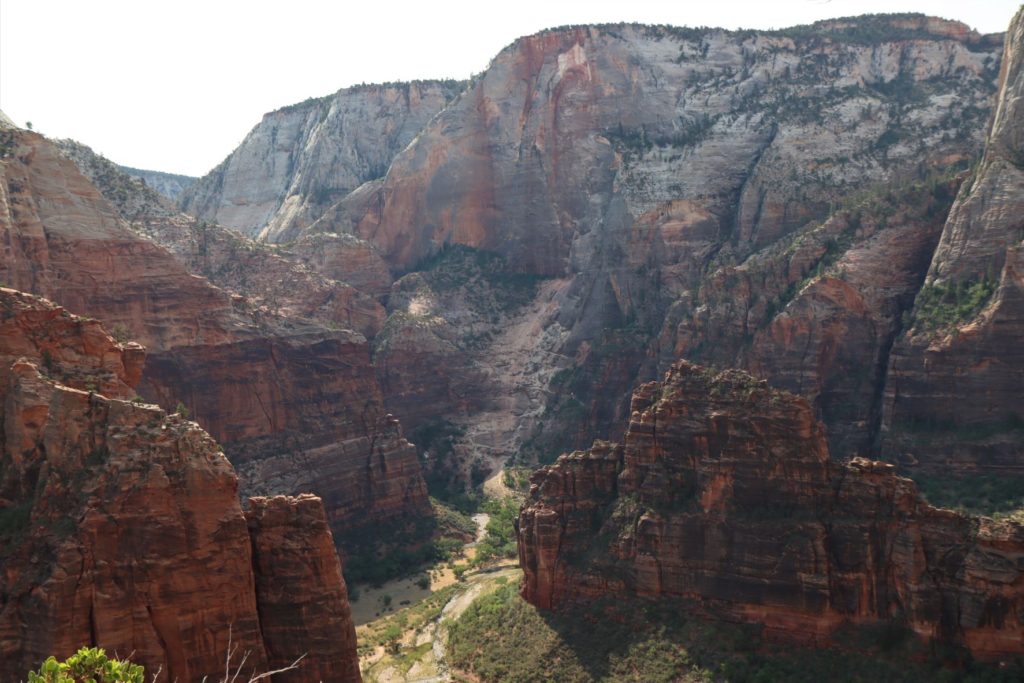
Scout Lookout is a incredible spot to just simply rest and admire the beauty of the world.
From this location you can also sit and watch all of the people hiking up to Angels Landing. See the chains that people are holding onto to help them up the cliffside. (See picture below.)
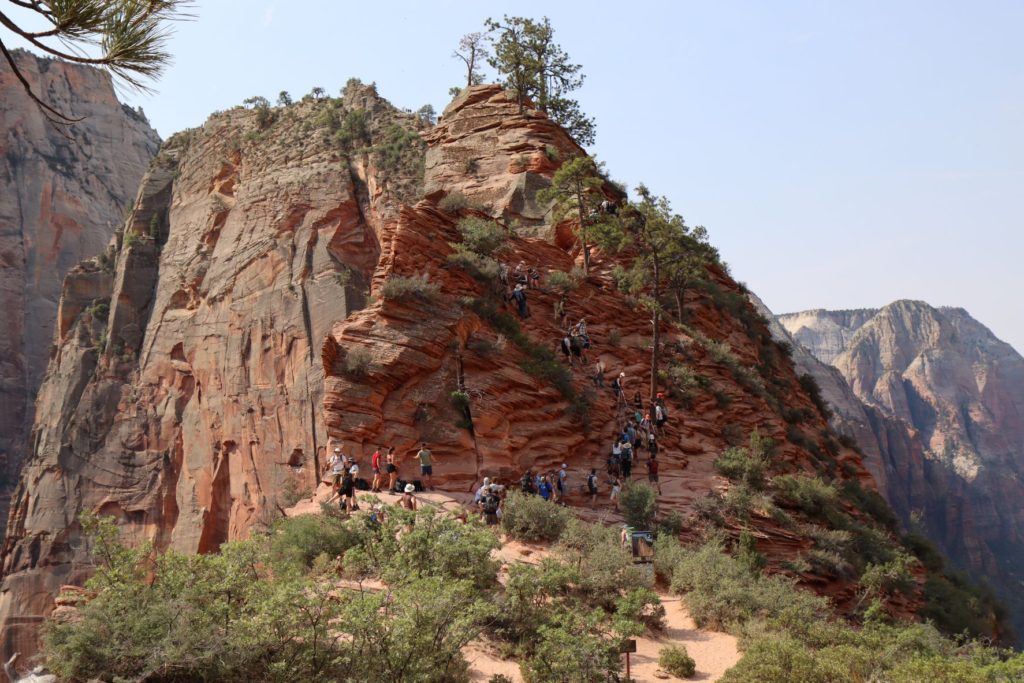
Wait, there’s more. The picture below is also of people hiking to Angels Landing. See those dots making their way along the crest. Those are actually people! Turns out that Scout Lookout is a great place to people watch as well as enjoy the incredible scenery.
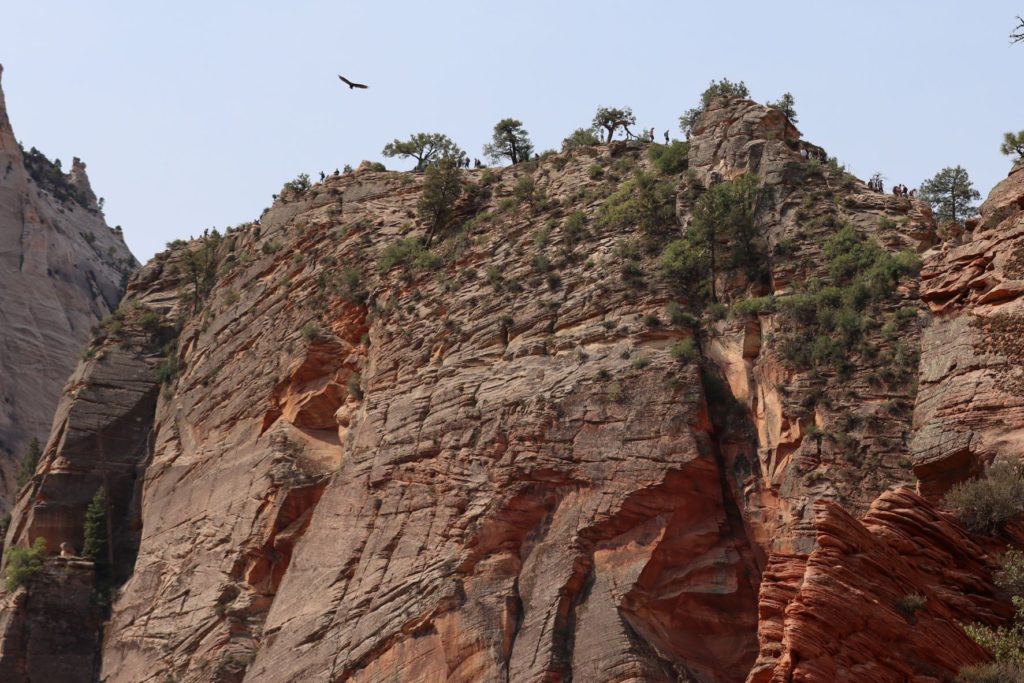
After we rested and spent some time enjoying Scout Lookout, we then began our journey back down the trail.
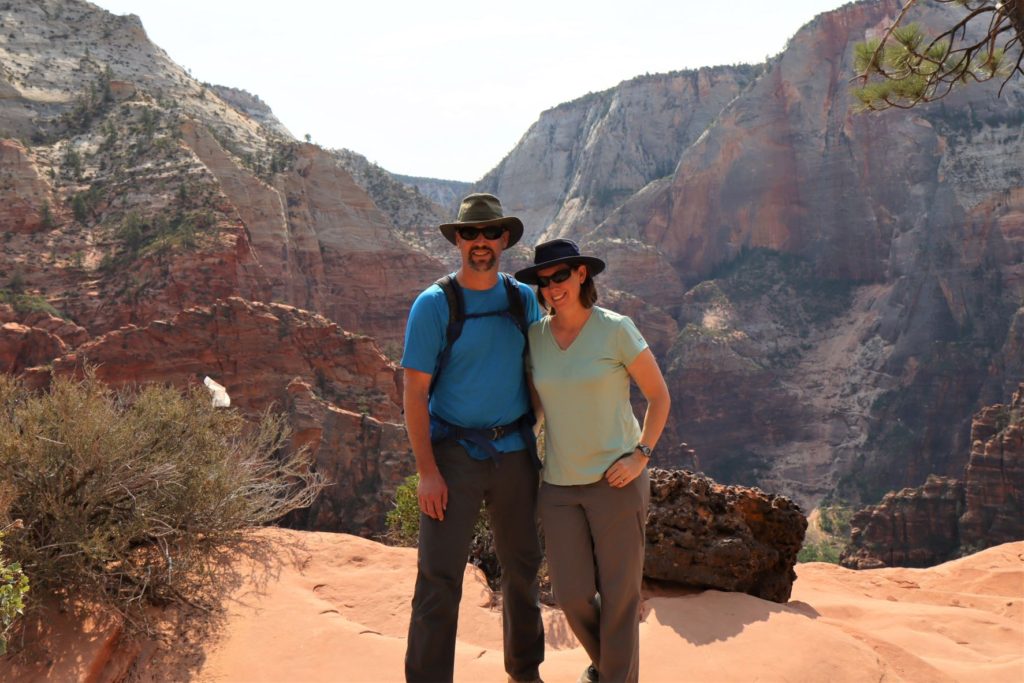
Scout Lookout was an absolutely fantastic hike for our family. It was challenging, yet completely doable. The trail was interesting and constantly changing, yet easy to walk on and safe. We were able to see tons of fantastic scenery and even wild owls along the way! All together this made our hike to Scout Lookout a fantastic morning together in Zion National Park and one that I know we’ll never forget.
So, now you know more about what you can expect when hiking to Scout Lookout in Zion National Park. And I hope that, with this information, you can now better decide if this would be the perfect hike for you and your family too!
Have to Great Hike to Scout Lookout with Your Traveling Feet!
If You Found This Post Helpful, Please Share / Pin It
Need Help with a Utah Road Trip Itinerary?
POPULAR TOURS NEAR ZION NATIONAL PARK
Related Utah Posts:
- Utah: 10 Must See Destinations in Utah
- Capitol Reef: Hickman Bridge (A Fantastic Hike with Kids.)
- Bryce Canyon: Hiking Bryce Canyon’s Queens Garden/ Peekaboo/ Wall St Loop
- Arches: Best Hikes & One Day Itinerary
Traveling with Kids & Looking for Great Books?
This post contains affiliate links, which means we may receive a small commission, at no cost to you, if you make a purchase through a link. As always, I only share products with you that I use and love for my family. Thank you for supporting 10 Traveling Feet.
©10 Traveling Feet – 2021. Unauthorized use and/or duplication of this article and/or any of its contents (text, photography, etc) is strictly prohibited.
